

This page uses the
vijil command line tool for the first two steps. The Console cannot create Targets yet, so this workflow starts in a terminal. Everything after step 2 happens in the Console.What You Need
- A Vijil Console account, and membership of the team the estate belongs to.
- Collector artifacts from Vijil. They carry the engineering name
vijil-shadow, which is why that name appears in package filenames, environment variables, and log paths. - The Vijil command line tool, from
pip install vijil-console. See the CLI Quickstart. - One machine, network, or cluster you want scanned, and the access to install software on it.
Decide Your Targets First
A Target is a place you want looked at. A Collector is the software that does the looking. Many Collectors can report into one Target, so a fleet of laptops is one Target with one Collector per laptop. Decide your Targets before you install anything. Use one per source: one for endpoints, one per network, one per cluster, one per cloud account.Working With Discover
1
Point the Command Line Tool at Your Console
--password off and the tool prompts for it. A password on the command line lands in your shell history.Then select the team the estate belongs to:2
Create Your First Target
--type scanner for anything that goes looking for services. Use --type dlp only for a Target that receives events from a Vijil Dome proxy.3
Find It in the Console
Open Discover and choose the Targets tab. Your new Target appears in the list with no kind, no scan, and no agents.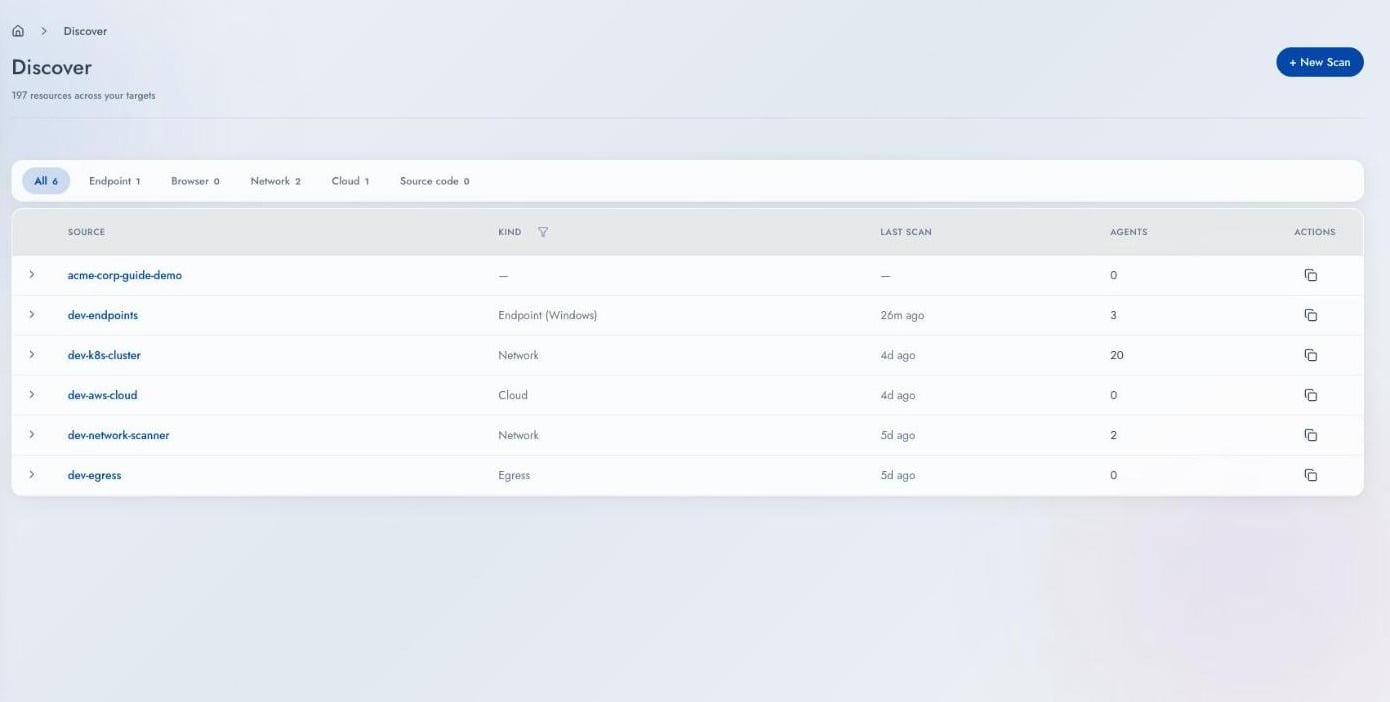
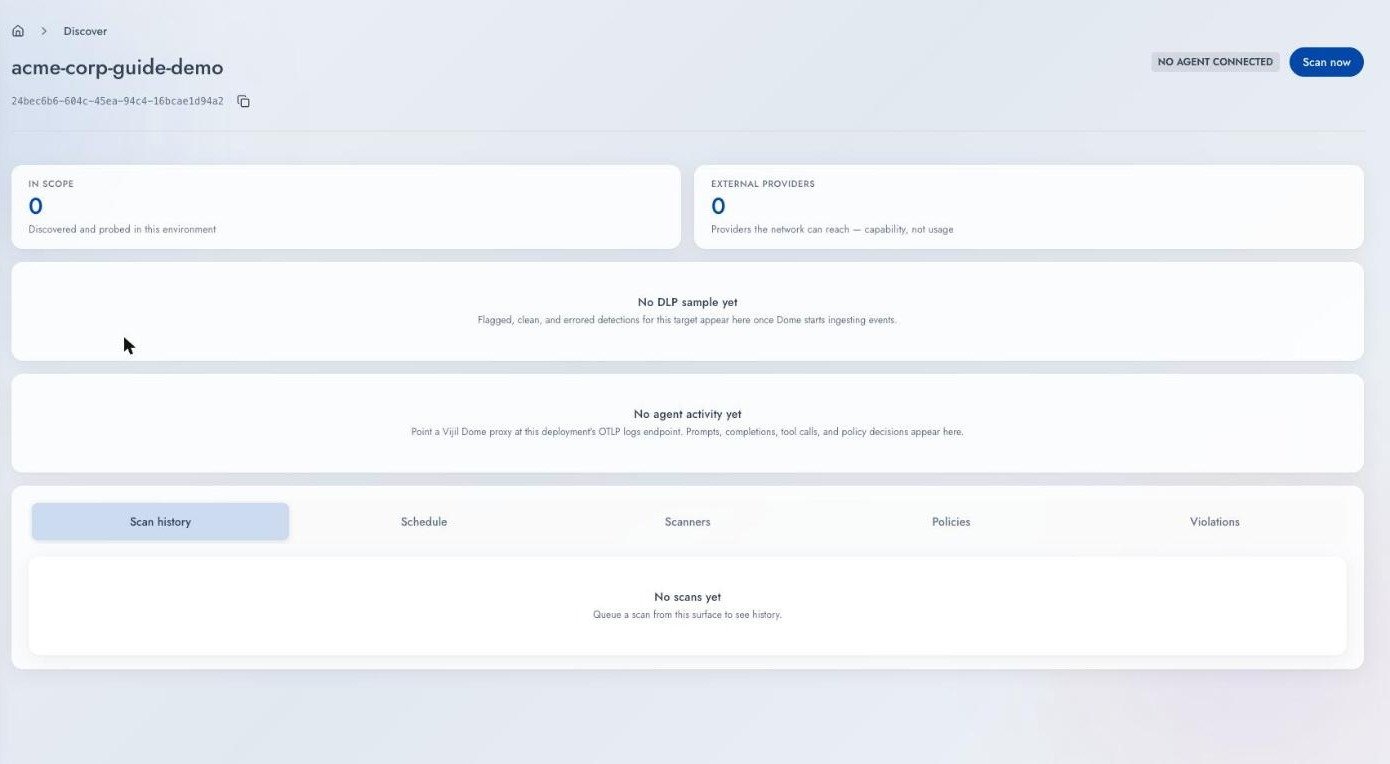
On these screens, “Agent” means Collector. The Agents count and the connection badge both refer to the scanning software installed against this Target. The Agent Registry uses the same word for an AI Agent, which is a different thing.
4
Create a Credential for Your First Collector
Open the Scanners sub-tab. There are two kinds of credential.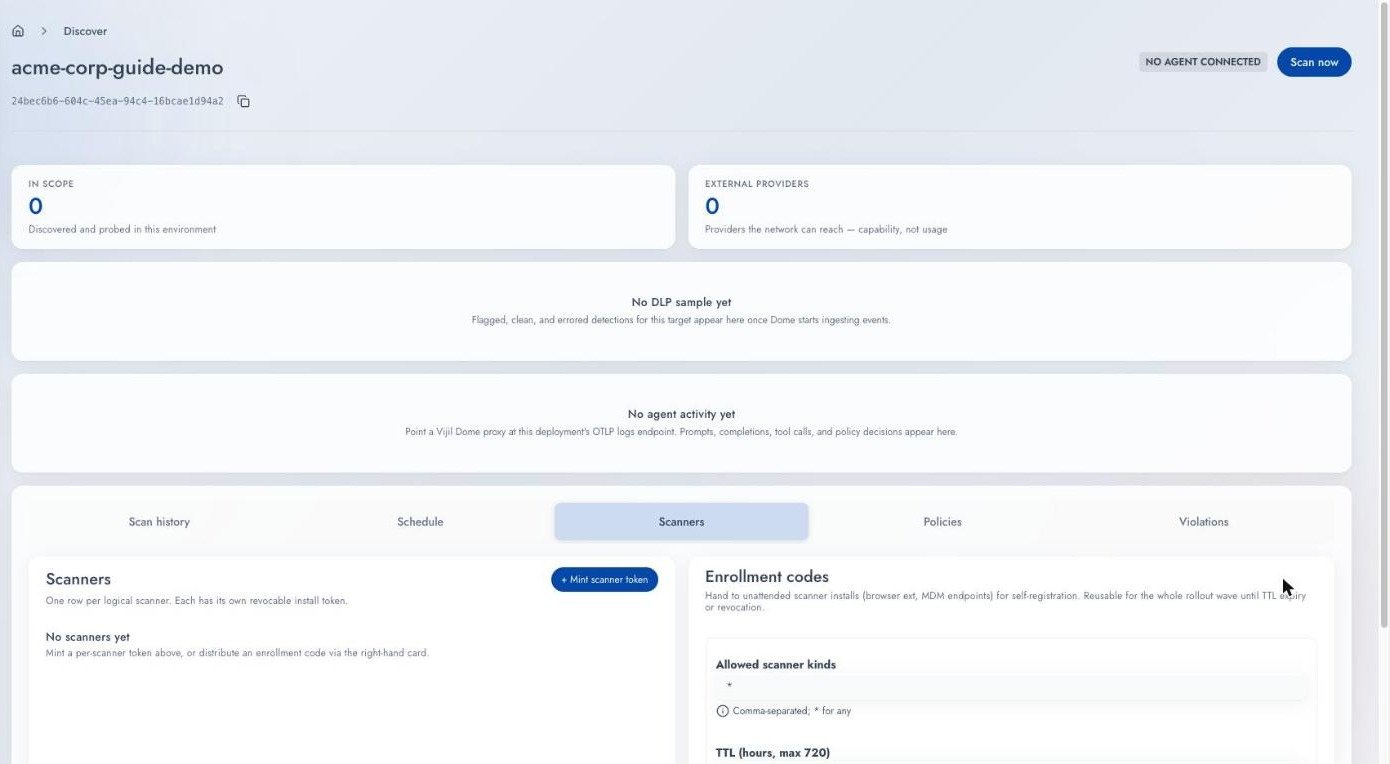
Choose an enrollment code for a fleet.
5
Install the Collector
Pick the kind that matches what you want to reach.
The Target header changes to Agent online once the Collector checks in.
6
Run Your First Scan
Either press Scan now on the Target, or:Collectors poll every 30 seconds by default, so expect a short delay before the scan starts. Progress appears on the Target as it runs.
7
Read What Came Back
The Findings tab lists everything found across every Target, with a Classification column showing
AI or Non-AI, and a dash where the Collector could not decide. Expand your Target’s row on the Targets tab to see the same results split into AI, Non-AI, and Uncertain. Open any Resource for its evidence.Then check what the scan could not reach. An empty finding list has two possible meanings: the scope is clean, or the Collector saw nothing.Housekeeping
- Revoke credentials you no longer need. Revoke both from the Scanners sub-tab. Revoking takes effect immediately.
- Keep one Target per source. Mixing sources makes findings harder to attribute.
- Re-check blind spots after any access change. A Collector that loses a permission still reports success, and its coverage shrinks.
Next Steps
Create and Manage Targets
Target types, credentials, and scheduling.
Install a Collector
Prerequisites and steps for each kind.
Review Discovered Resources
Work through
AI, Non-AI, and Uncertain.Register a Discovered Agent
Move a finding into the Agent Registry.